AVG Error 0xE001C008 happens when AVG Free Antivirus fails or crashes whilst it’s running, hence its name. It doesn’t necessarily mean that the code was corrupt in some way, but just that it did not work during its run-time. This kind of error will appear as an annoying notification on your screen unless handled and corrected. Here are symptoms, causes and ways to troubleshoot the problem.
Symptoms of AVG Error Code 0xE001C008
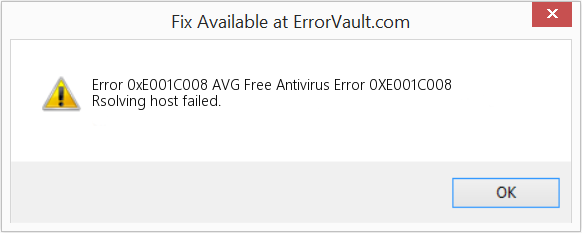
AVG Error happens without warning. The error message can come up the screen anytime AVG Free Antivirus is run. In fact, the error message or some other dialogue box can come up again and again if not addressed early on.
There may be instances of files deletion or new files appearing. Though this symptom is largely due to virus infection, it can be attributed as a symptom for runtime error, as virus infection is one of the causes for runtime error. User may also experience a sudden drop in internet connection speed, yet again, this is not always the case.
Repair Methods
AVG Error may be annoying and persistent, but it is not totally hopeless, repairs are available. Here are ways to do it.
Method 1: Close Conflicting Programs
When you get a AVG Error, keep in mind that it is happening due to programs that are conflicting with each other. The first thing you can do to resolve the problem is to stop these conflicting programs.
- Open Task Manager by clicking Ctrl-Alt-Del at the same time. This will let you see the list of programs currently running.
- Go to the Processes tab and stop the programs one by one by highlighting each program and clicking the End Process button.
- You will need to observe if the error message will reoccur each time you stop a process.
- Once you get to identify which program is causing the error, you may go ahead with the next troubleshooting step, reinstalling the application.

- For Windows 7, click the Start Button, then click Control panel, then Uninstall a program
- For Windows 8, click the Start Button, then scroll down and click More Settings, then click Control panel > Uninstall a program.
- For Windows 10, just type Control Panel on the search box and click the result, then click Uninstall a program
- Once inside Programs and Features, click the problem program and click Update or Uninstall.
- If you chose to update, then you will just need to follow the prompt to complete the process, however if you chose to Uninstall, you will follow the prompt to uninstall and then re-download or use the application's installation disk to reinstall the program.
- For Windows 7, you may find the list of all installed programs when you click Start and scroll your mouse over the list that appear on the tab. You may see on that list utility for uninstalling the program. You may go ahead and uninstall using utilities available in this tab.
- For Windows 10, you may click Start, then Settings, then choose Apps.
- Scroll down to see the list of Apps and features installed in your computer.
- Click the Program which is causing the AVG Error, then you may choose to uninstall or click Advanced options to reset the application.

- Open your Device Manager, locate the graphics driver
- Right click the video card driver then click uninstall, then restart your computer.
Comments
Post a Comment